Send and reply
Send a campaign
You will have a campaign ready to send.
Start a campaign
Go to Campaigns and open New campaign. Name it for you (for example
August update). Recipients see the subject, not this name.Pick From and audience
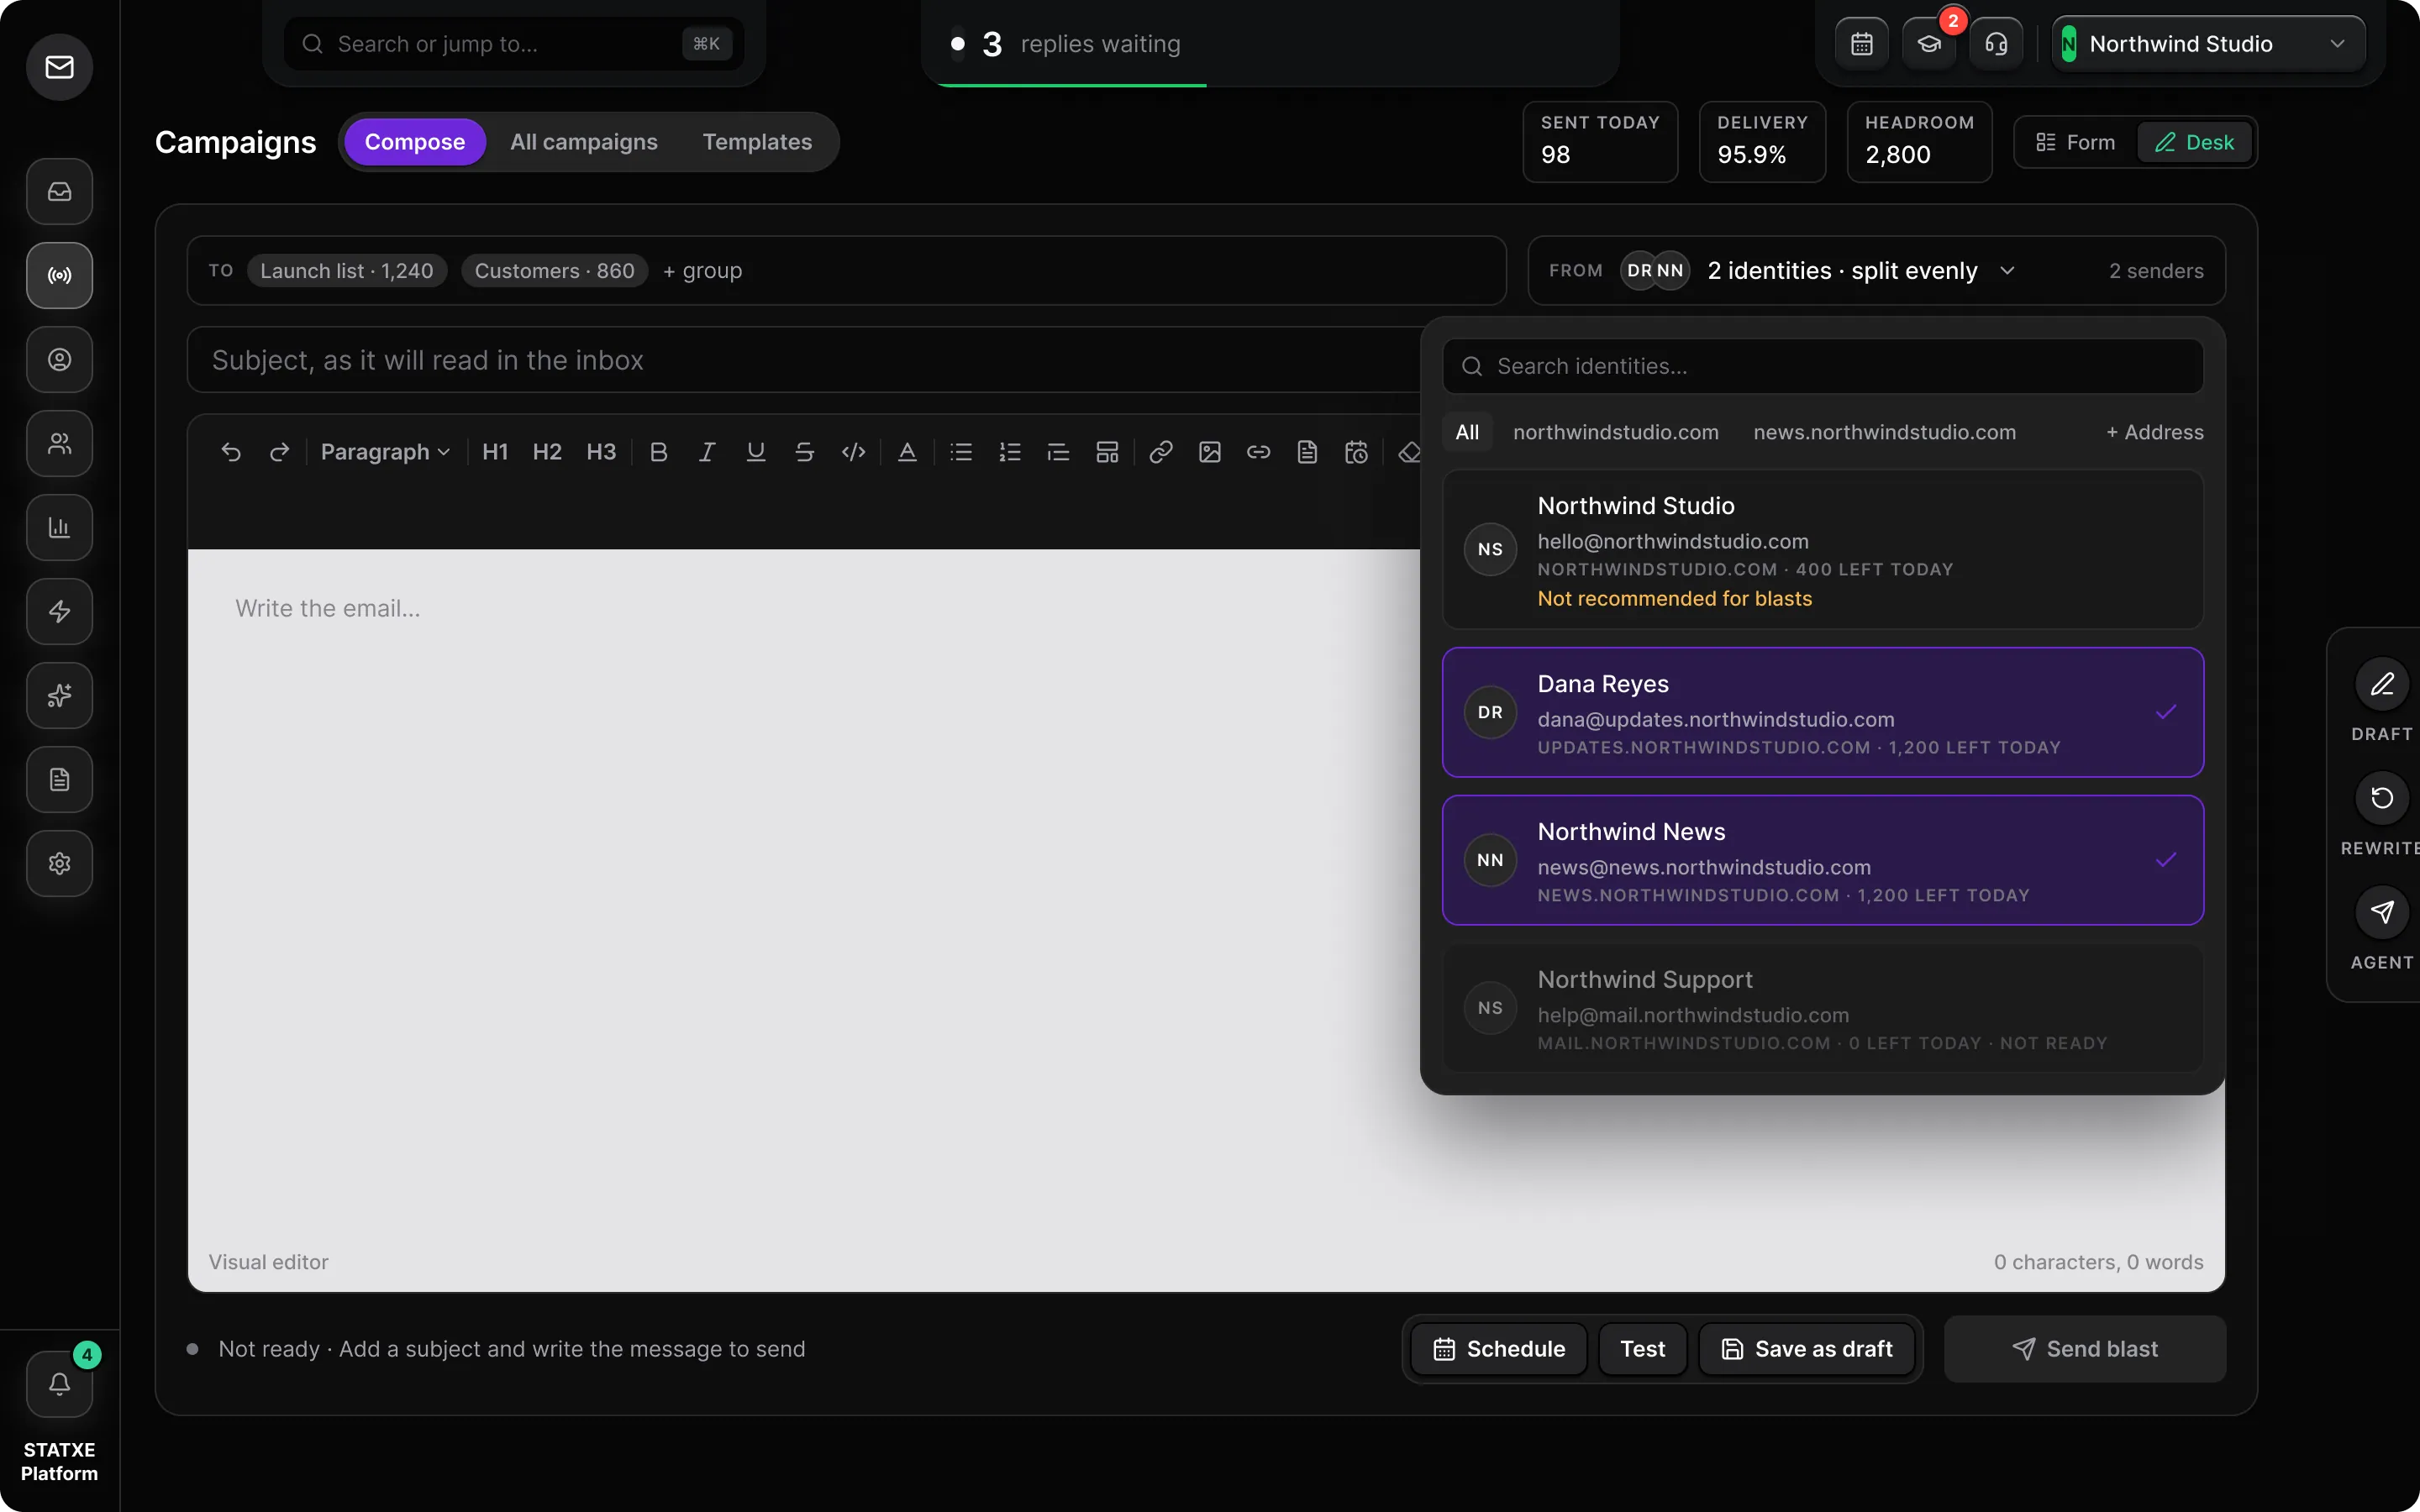
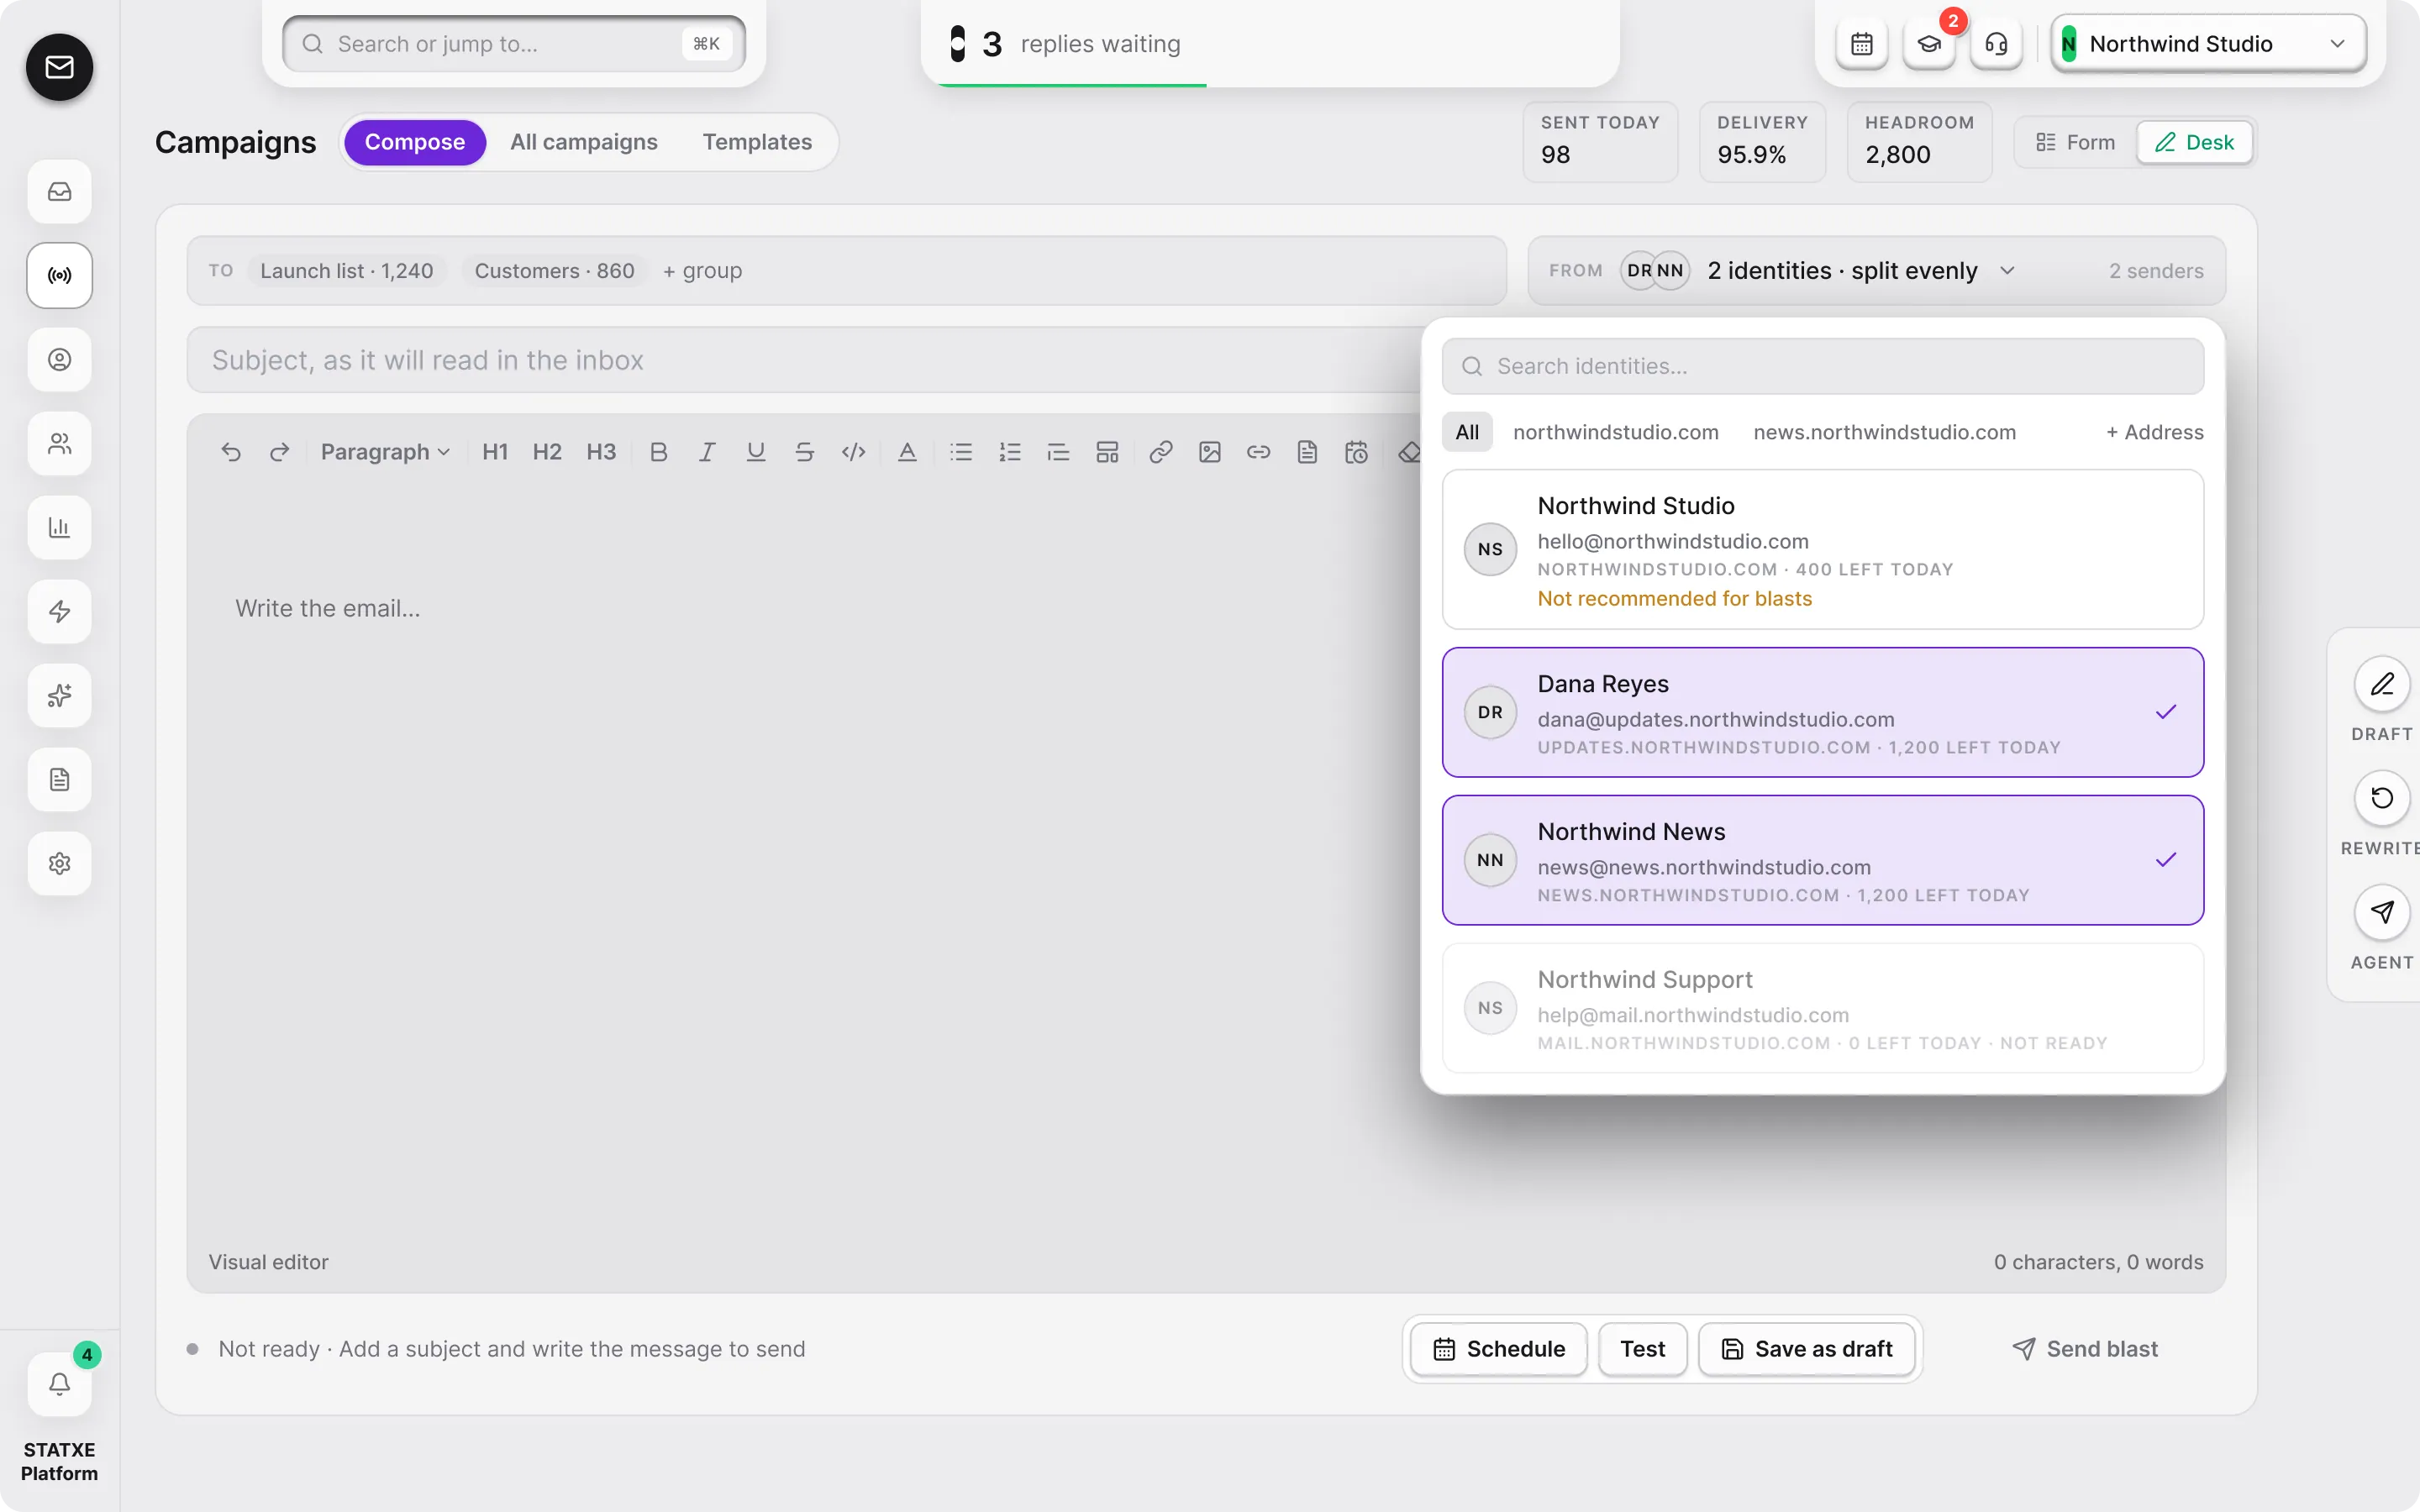
Choose a verified From address — the mailbox from Create a sending address. Pick a group you can legally email, such as
Launch list. Do not target a purchased list.Attach the footer
The campaign must append a published footer with mailing address and Unsubscribe. If the composer warns that a footer is missing, assign one from Attach a footer before you send.
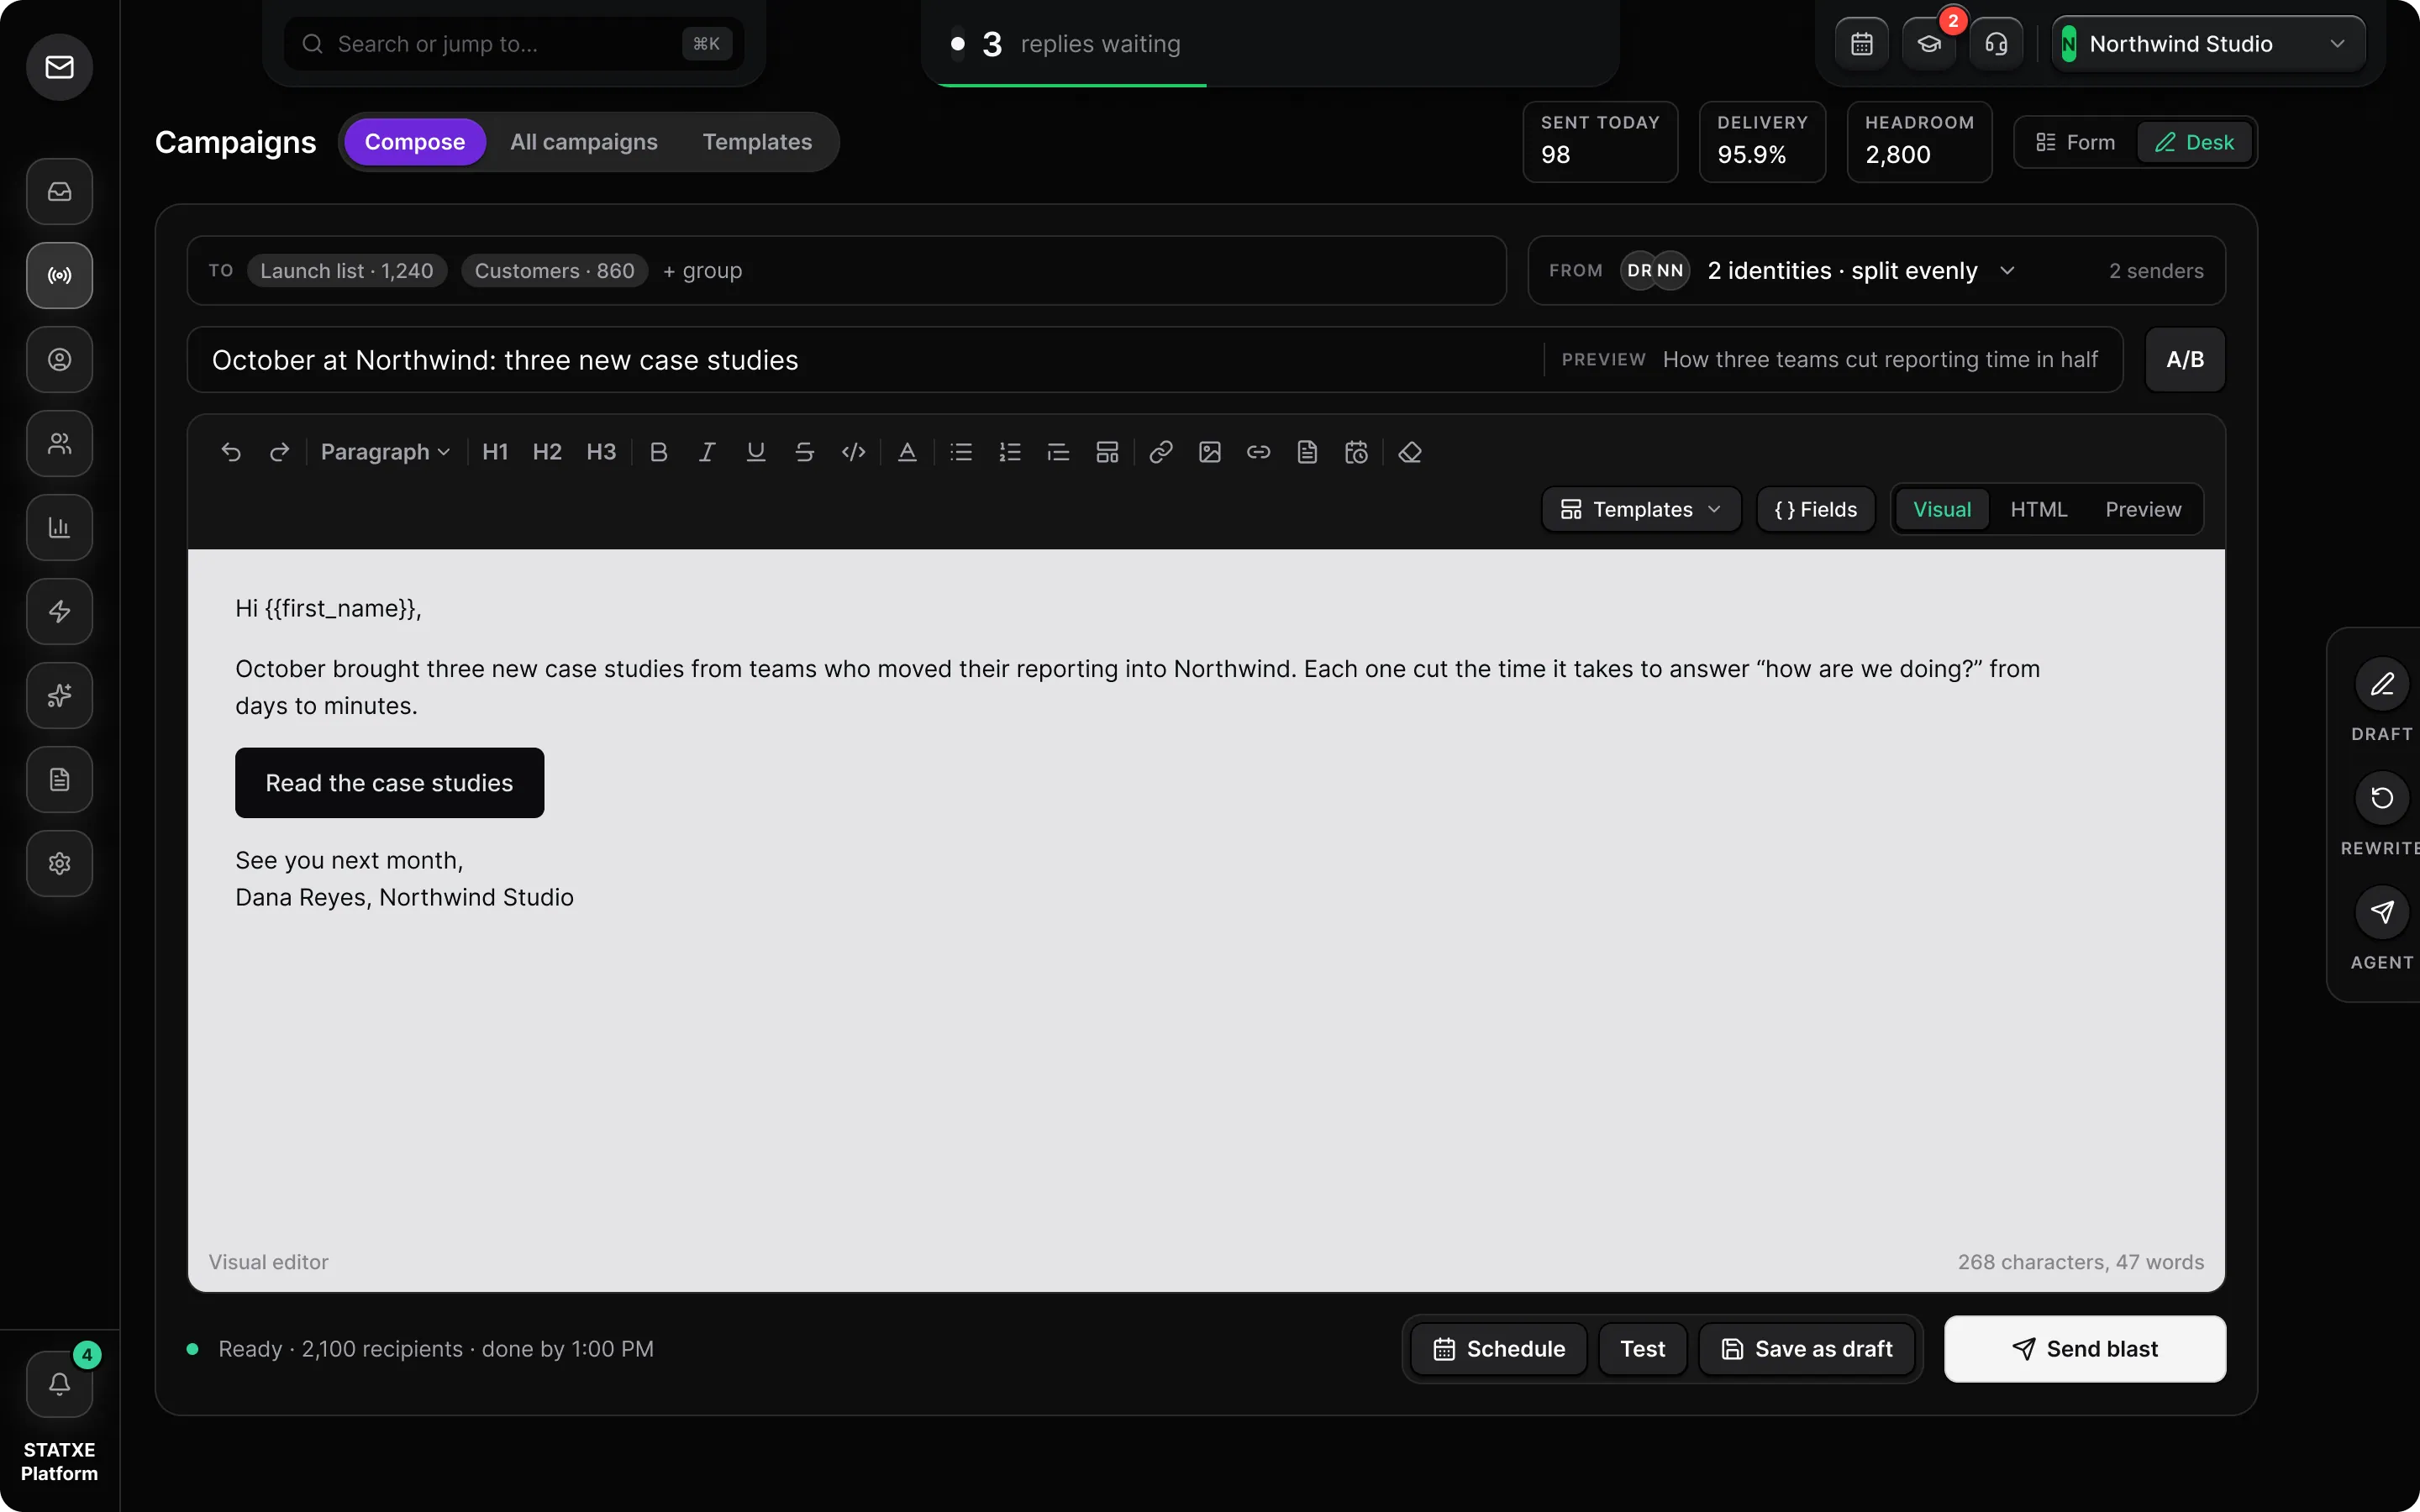
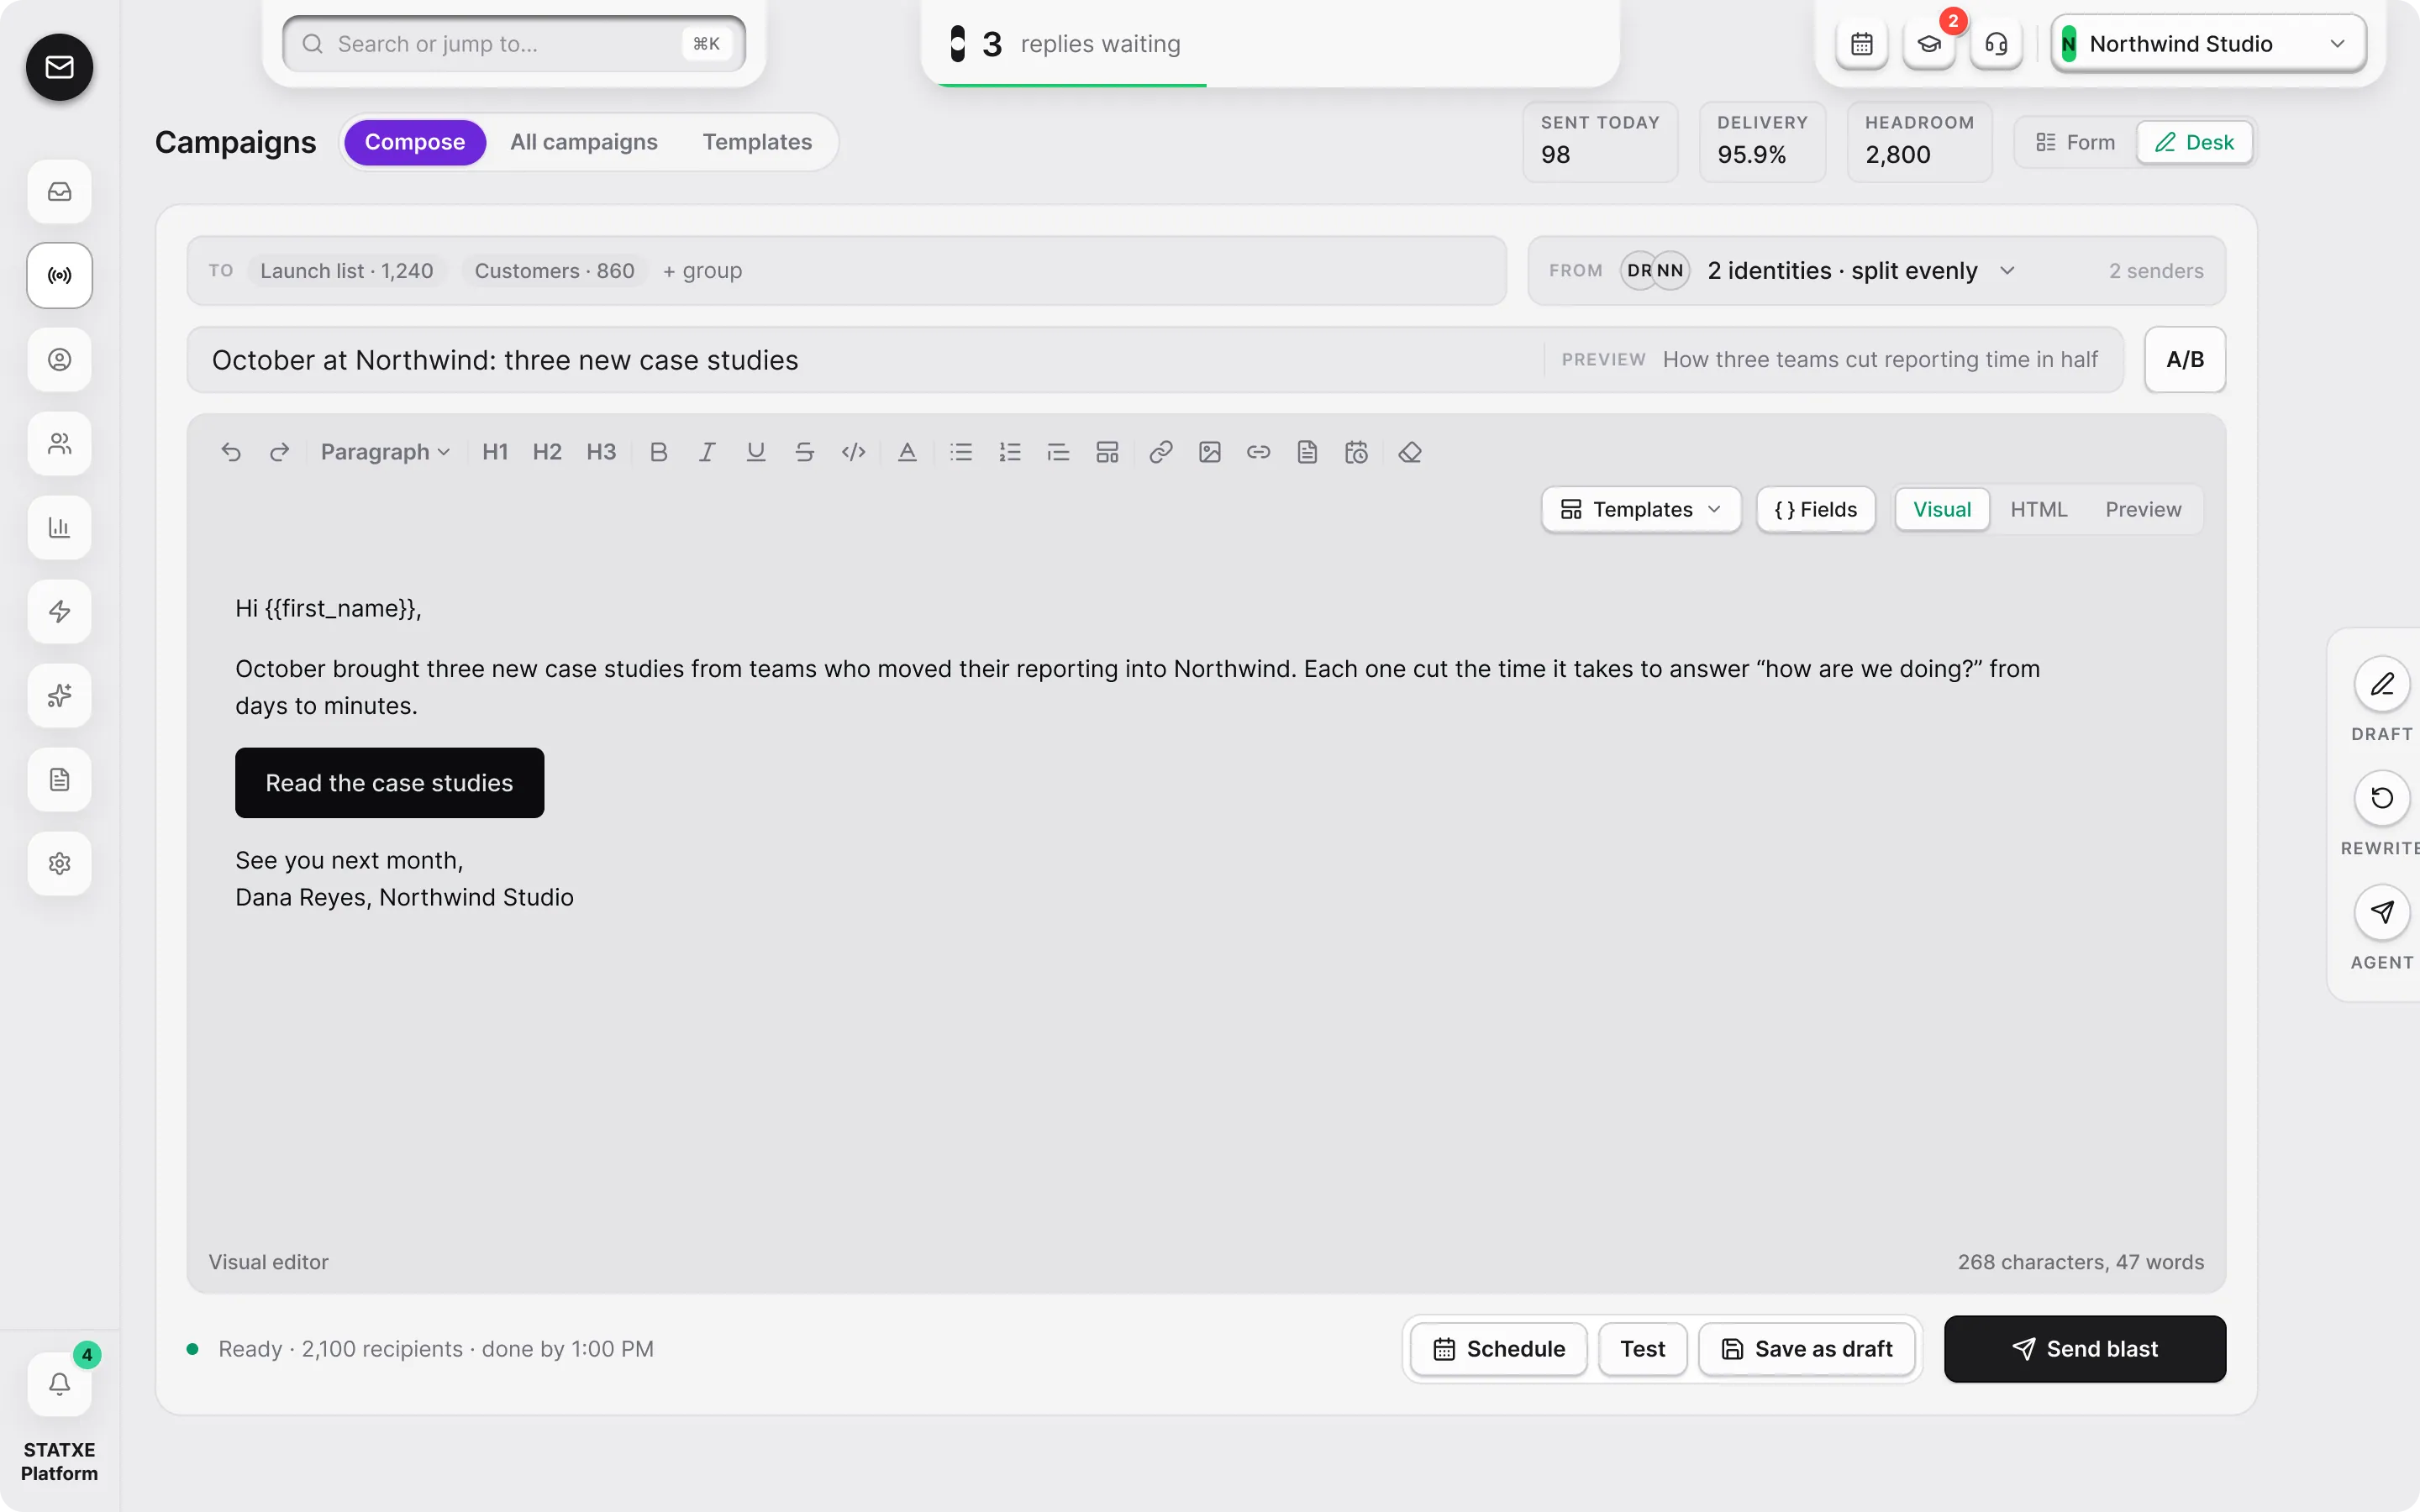
Write, then preview
Add a subject and body. Use Preview to see merge fields, the footer, and Unsubscribe at the bottom. If the street address is wrong, fix Settings → Branding, not the campaign HTML.
Send now or schedule
Send delivers now. Schedule picks a time. You can keep a draft until From, group, and footer all look right. Scheduled mail still needs an active plan and a verified domain.
New campaign
DraftName (internal)
August update
Subject
Your workspace is ready
From
STATXE · hello@updates.statxe.com
Audience
Group · Launch list
Footer
Published · STATXE legal footer
Walkthrough playing.
From, group, footer
Pick a verified From, a group you can email (for example Launch list), and a published footer. Then Preview. Then Send or Schedule.
Preview
Confirm the body, the street address, and Unsubscribe at the bottom. If the address is wrong, fix Branding.
Your workspace is ready
Billing is on, the domain is verified, and this footer rides along on the send.
Unsubscribe
Send or schedule
Send goes now. Schedule picks a time. Both still need an active plan and a verified domain.
Send or schedule
Check From, Launch list, and the published footer. Then Preview. Then Send or Schedule.